Ductless mini-split installation: what the job involves
A ductless mini-split install takes one day for a single zone and two to three days for three zones. Here is each stage, in order, and what to check.
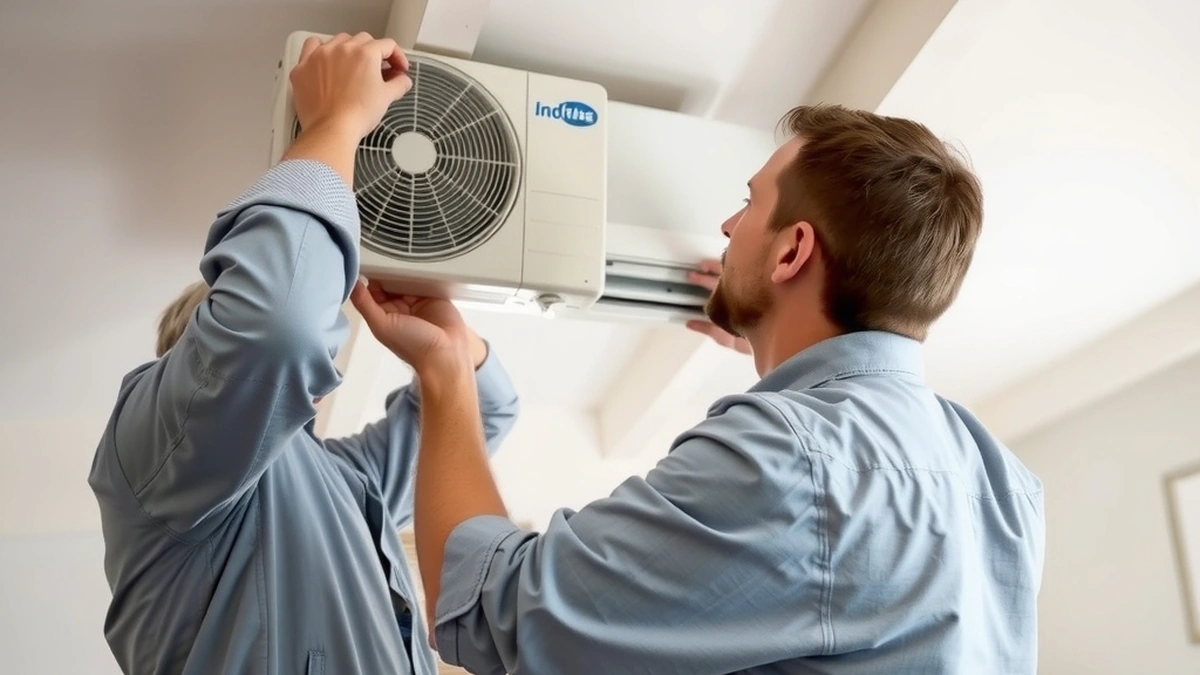
A ductless mini-split installation takes one day for a single zone and two to three days for three zones. The sequence is fixed: load calculation, mounting and wall penetrations, line sets and drain, dedicated electrical, pressure test and vacuum, then commissioning.
- Single zone
- 1 day
- Three zones
- 2 - 3 days
- Vacuum target
- 500 microns
- Installed cost
- $3,000 - $12,000
Some links on this page are affiliate links.If you buy through them we may earn a commission at no extra cost to you. We do not accept payment for rankings. Read the full disclosure.
A ductless mini-split installation takes one day for a single zone on an accessible wall and two to three days for a three-zone system. Every competent crew follows the same order: load calculation, mounting and wall penetrations, line sets and condensate, dedicated electrical, pressure test and vacuum, then commissioning. A job that skips a step usually works on the first day and fails in the third summer.
Commissioning is the measured test at the end of an install where the installer confirms the system holds vacuum, carries the correct charge, and delivers the airflow the manufacturer specifies. It is the part of the job you cannot see afterwards, which is why it belongs in writing.
Stage by stage, with realistic hours
| Stage | Single zone | Three zones |
|---|---|---|
| Load calculation and site survey | 1 - 2 hours | 2 - 3 hours |
| Brackets, pad, wall penetrations | 3 - 4 hours | 6 - 8 hours |
| Line sets, drain, sleeve sealing | 2 - 3 hours | 6 - 9 hours |
| Electrical circuit and disconnect | 2 - 4 hours | 4 - 6 hours |
| Pressure test and vacuum | 1 - 2 hours | 2 - 3 hours |
| Commissioning and walkthrough | 1 hour | 1 - 2 hours |
A single-zone job fits inside one long day. Three zones rarely do, because each head needs its own penetration, its own drain route, and its own hour of careful work at height. Anyone promising four heads in a day is either rushing the vacuum or skipping the pressure test.
The load calculation comes first
The installer should size each room with a room-by-room load calculation, not a rule of thumb per square foot. Two rooms of the same size behave differently when one has west-facing glass and the other sits under an attic.
Oversizing is the common error. A head that is too large cools the room in four minutes, shuts off, and leaves the humidity high. It also short cycles, which is hard on the compressor and the reason so many “new system” complaints trace back to sizing rather than equipment. If a quote arrives without a load calculation, ask for one before signing.
The practical outcome is a head count and a capacity per head. A 12,000 BTU head for a 350-square-foot bedroom is normal; the same head in a 700-square-foot open living area is not.
Mounting, clearances, and the line set
The indoor head mounts on a steel bracket lagged into studs or blocking. Standard clearances are about 6 inches below the ceiling, 6 feet above the floor, and 6 feet from an inside corner so the air pattern is not blocked. The bracket must be level; a head that tips drains into the wall instead of out the pipe.
Outside, the condenser sits on wall brackets or a pad with roughly 12 inches of clearance at the back and sides and enough room in front for service. Snow climate installs raise the unit on brackets so drifting snow does not bury the coil.
The line set carries liquid and suction lines, usually 1/4-inch and 3/8-inch for residential sizes, wrapped together with the communication cable and the condensate hose. A single 3-inch sleeve through the wall takes all of it. Two rules matter:
- Keep the run as short as the layout allows; most units include 25 feet of line set and extra length needs a charge adjustment.
- Slope the condensate line at about 1/4 inch per foot toward the outlet, or fit a pump where gravity will not cooperate.
Electrical, pressure test, and vacuum
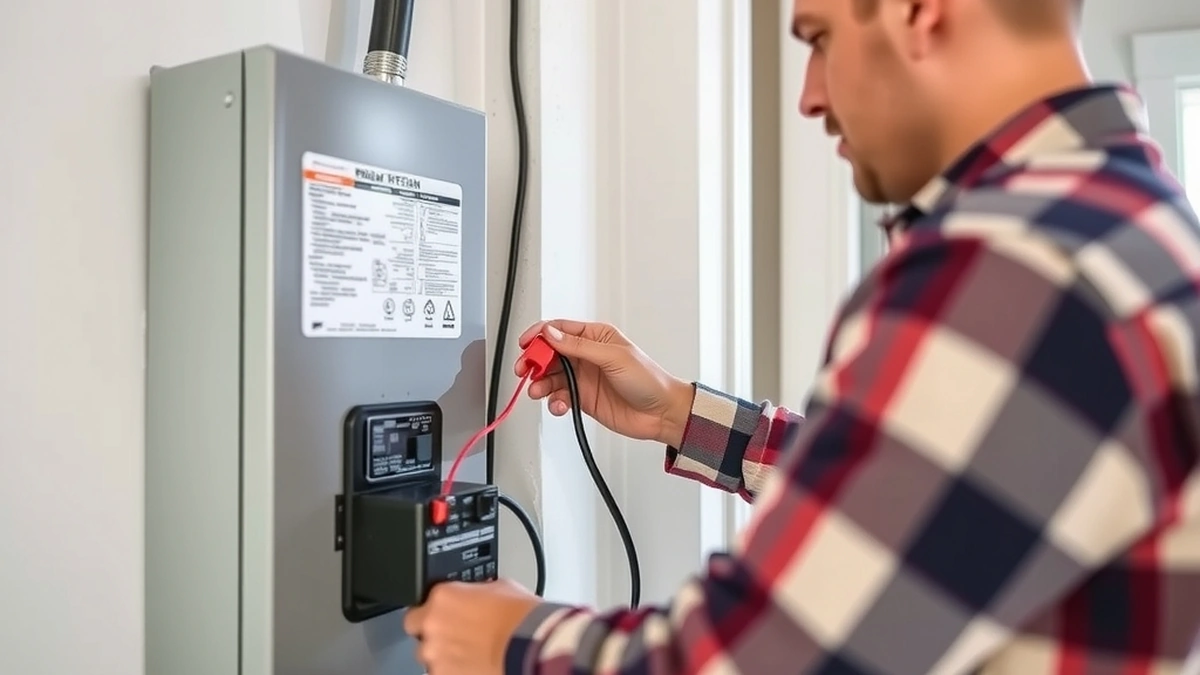
A mini-split needs its own circuit, typically 240-volt at 15 to 30 amps depending on capacity, ending in a disconnect within sight of the outdoor unit. Sharing an existing circuit is not acceptable, and a panel with no spare capacity means a subpanel or service upgrade before the install can proceed.
Then the part that separates a warranty-grade install from a weekend job:
- Pressure test. Nitrogen at 300 to 500 psi, held for at least 30 minutes while the gauge is watched.
- Vacuum. A pump pulls the system down to 500 microns or below and holds it there. Moisture left in the lines forms acid in the compressor oil.
- Charge verification. The installer checks superheat or subcooling against the manufacturer’s chart for the actual line length and outdoor temperature.
A crew that “just opens the valves” on a pre-charged unit and leaves has skipped the two tests that predict whether the system survives five years.
What the commissioning report should show
Ask for a one-page record before final payment. It should list:
| Item | Expected result |
|---|---|
| Pressure test | 300 - 500 psi held, no drop |
| Vacuum | 500 microns or lower, held 15 minutes |
| Charge check | Superheat or subcooling within spec |
| Supply and return air | 15 - 20 F temperature split |
| Condensate | Flows freely, no leak at the sleeve |
| Controls | Remote paired, all heads responding |
No report, no final payment. This is the cheapest leverage a homeowner has on installation quality.
What you can do yourself, and what you cannot
| Task | Homeowner | Licensed technician |
|---|---|---|
| Choose head locations | Yes | Advises |
| Mount brackets and drill the sleeve | Possible, check local rules | Yes |
| Run the condensate drain | Yes | Yes |
| Pull the electrical circuit | Usually not permitted | Yes |
| Braze, pressure test, evacuate | No | Yes, EPA 608 required |
| Commission and certify | No | Yes |
Refrigerant handling falls under EPA Section 608, and manufacturers tie warranty coverage to a certified installation. Mounting and landscaping around the pad are fair homeowner work. Anything that opens the sealed system is not.
Schedule, cost, and how to prepare
Installation cost tracks the head count, not the calendar. A single zone runs $3,000 to $5,500; three zones run $7,500 to $12,000. Once the system is in, the annual numbers are small: $150 to $300 for a service visit, $150 to $600 for most repairs, and $200 to $500 for an after-hours call-out. A ducted heat pump, for reference, installs for $5,000 to $12,000.
Four things to settle before the crew arrives:
- Clear the wall space where each head will hang, including 6 feet of floor below it.
- Confirm the electrical panel has two spare breaker slots; if not, get the upgrade priced in writing.
- Decide where the condensate will discharge, and keep that path accessible.
- Ask who pulls the permit and who signs the commissioning report.
Our cost breakdown shows where each line in the quote comes from, and the maintenance guide covers the filter routine that keeps the system performing between service visits. If the system is already in and misbehaving, start with common problems instead.
Frequently asked questions
How long does a mini-split installation take?
One day for a single zone on an accessible wall, and two to three days for a three-zone system. Adding a new electrical circuit or cutting brick adds hours to the schedule.
Do I need a permit for a mini-split?
Most US jurisdictions require one for the electrical circuit and often for the refrigerant work. A permit costs roughly $100 to $350 and the installer should pull it, not you.
Can a mini-split be installed in winter?
Yes. The line set work happens outdoors, so crews prefer above-freezing weather, but commissioning can run in cold conditions on models rated for it. Ask about a pump-down procedure if the outdoor unit will sit idle.
What is a commissioning report?
A one-page record of measured vacuum, pressure test, refrigerant charge verification, supply and return temperatures, and static or airflow readings. Ask for it before final payment.
Can I install a mini-split myself?
You can mount the brackets and run the drain. You cannot legally handle refrigerant without EPA Section 608 certification, and an uncertified install can void the manufacturer warranty.
Why does the installer need to drill a three-inch hole?
The line set, drain, and communication cable pass through one sleeve in the wall. Three inches is the standard sleeve size and it is sealed with putty or a wall cap afterwards.
Sources
Some links are affiliate links.If you buy through them we may earn a commission at no extra cost to you. We do not accept payment for rankings. Read the full disclosure.